An app demo video is a short screen recording of your real app doing one job from start to finish: cut tight, zoomed on each tap, captioned so it works with the sound off, and exported at the size of the place it will play. To make one, pick one task, prepare the device, record the screen, remove the waiting, add zooms, captions and music, then export one file per destination.
Most guides on this topic are lists of agency-made explainer videos. This one is the process for a developer with an iPhone or Mac app and no editor, shown with real takes of sample apps filmed in the iOS Simulator. Apple's limits below come from the App preview specifications page, checked on November 12, 2026.
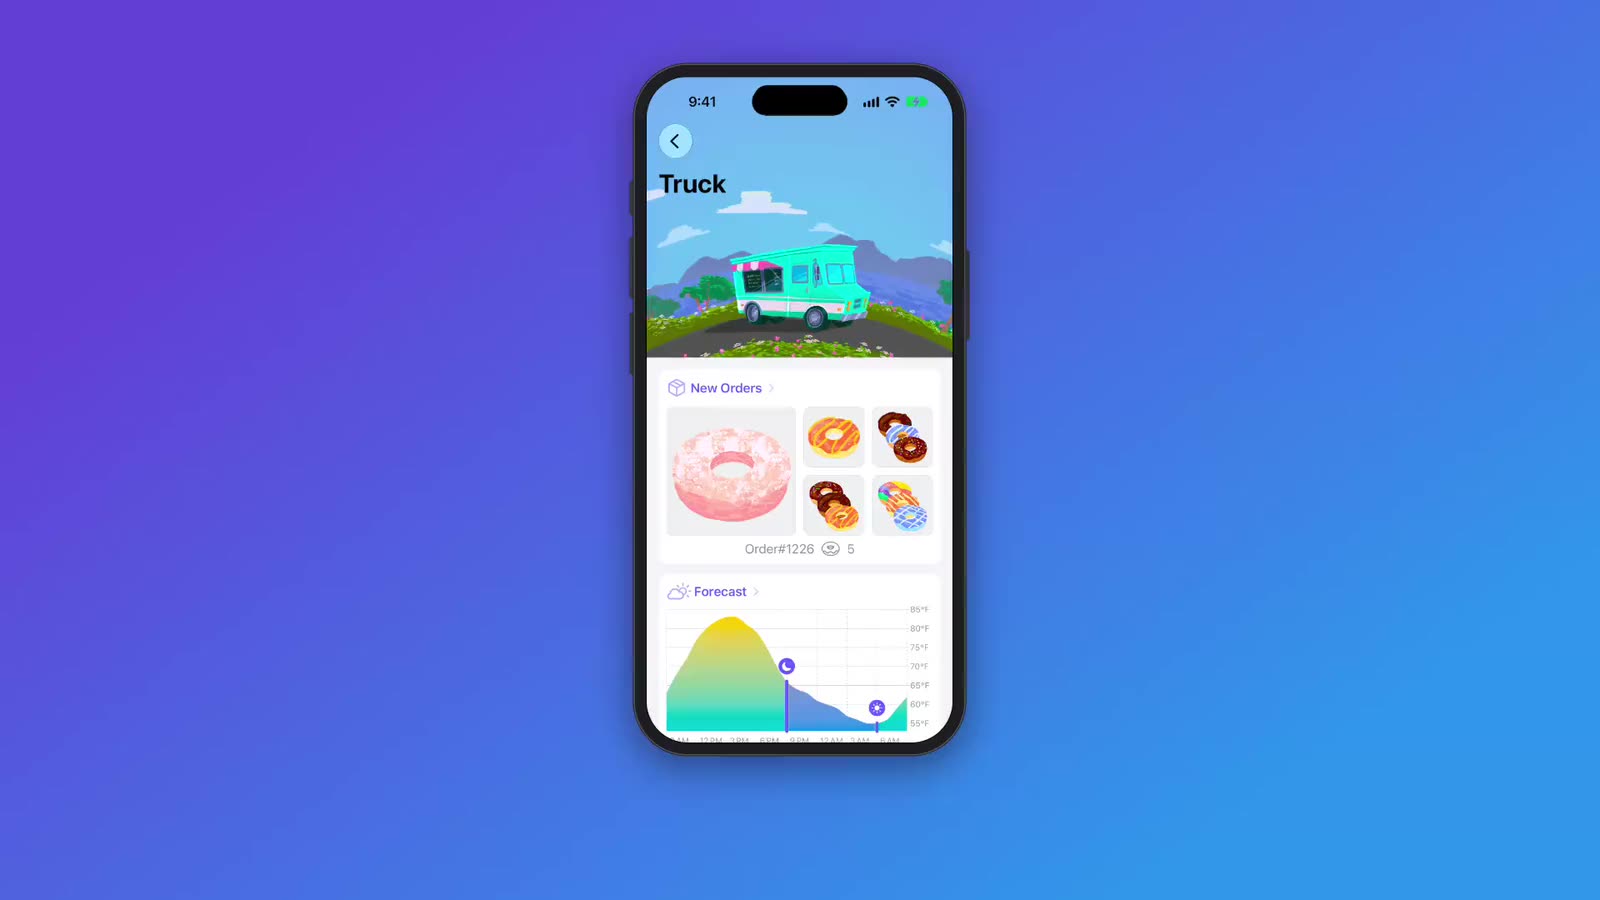
What an app demo video is (and what it is not)
People use "demo video" for four different things. Knowing which one you are making decides the length, the footage and the tool.
| Type | Footage | Typical length | Where it plays | Who makes it |
|---|---|---|---|---|
| App demo video | Real screen recording of the app | 15-60 s | Website, X, LinkedIn, TikTok, Product Hunt | You |
| App Preview | Real captures of the app only, no hands or device frames | 15-30 s (Apple's limit) | App Store product page | You |
| Explainer video | Animation, mockups, voice-over | 60-120 s | Landing page, ads | Usually an agency |
| Promo or trailer | Mix of footage, motion graphics, music | 15-60 s | Ads, launches | Agency or template tool |
This guide covers the first two. They share the same raw material: a clean recording of the app being used. An explainer can tell a story with drawings; a demo has to show the product, so the footage is the whole job.
How to make an app demo video in 7 steps
- Pick one task the viewer cares about and write a shot list of 4 to 6 beats.
- Prepare the app and the device: clean status bar, real-looking data, alerts answered.
- Record the screen of the Simulator or the Mac app window.
- Cut the waiting: loading, typing and pauses between steps.
- Zoom on every tap so a phone-sized viewer can read the change.
- Add captions and music for feeds that autoplay muted.
- Export one file per destination, at its size, frame rate and length.
1. Pick one task and write a shot list
The most common reason a demo drags is that it tries to show every feature. Pick the one task that made you build the app, and show it from an empty start to a visible result. Everything else goes in a second video.
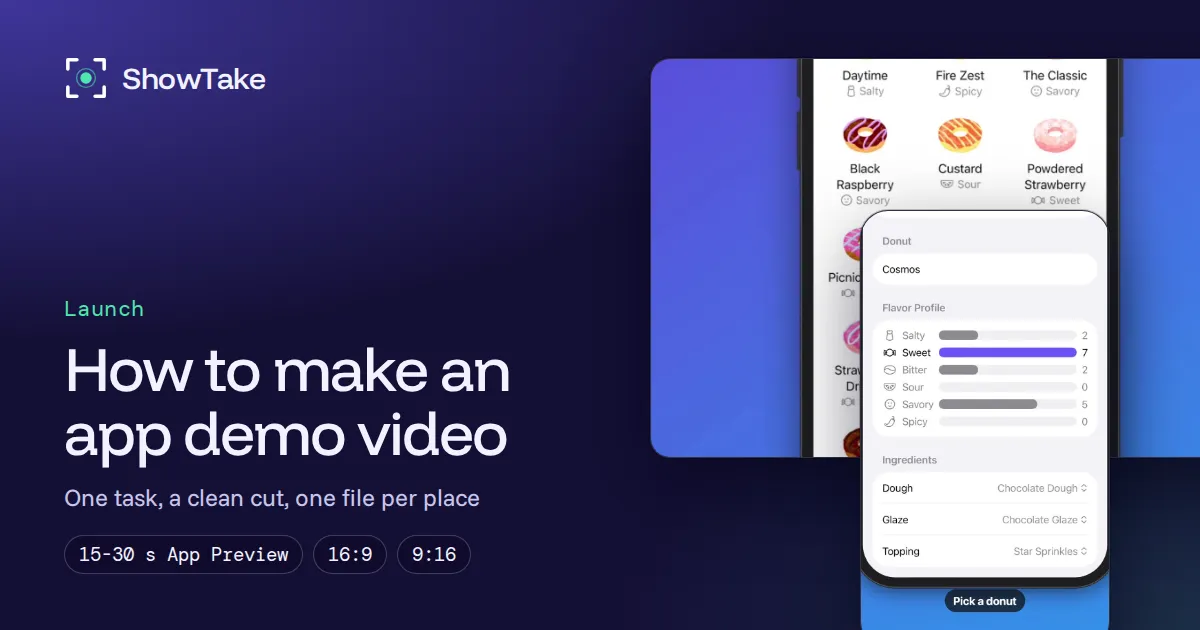
Write the beats before you record. For a donut in the Food Truck sample app, a shot list could look like this:
| Beat | Screen | Caption | Target length |
|---|---|---|---|
| 1 | Donut list | "Today's donuts" | 3 s |
| 2 | Donut detail | "Pick one to edit" | 3 s |
| 3 | Glaze picker | "Swap the glaze" | 4 s |
| 4 | Topping picker | "Add a topping" | 3 s |
| 5 | Finished donut | "Yours, in four taps" | 3 s |
Five beats of three or four seconds give a 16 to 20 second cut, which fits every destination in step 7, including the App Store's 15 to 30 seconds. A beat without a caption usually means the beat has no point: drop it.
2. Prepare the app and the device
Viewers notice a 3:12 status bar, a low battery icon or a list of "test test" rows before they notice your feature. Fix them before you record, not in the edit.
The Simulator is the easiest device to film: it records exact device pixels, the status bar can be overridden, and the take is repeatable. Apple accepts Simulator footage for App Previews, because it is a capture of the app itself.
3. Record the screen
You have four options on a Mac. They all work; they differ in what you have to fix afterwards.
| Method | What you get | What you fix afterwards |
|---|---|---|
xcrun simctl io booted recordVideo --codec=h264 demo.mov | Exact device pixels, no frame | No audio, no visible taps, variable frame rate |
| Simulator: File > Record Screen | Same as simctl, from a menu | Same as simctl |
| Shift-Command-5, Record Selected Window | The window with its frame, optional system audio | Window scale instead of device pixels, mouse pointer |
| An agent-driven take in ShowTake | Screen plus a log of every tap and step | Nothing by hand: render and export do steps 4 to 7 |
Every flag and pitfall of the first three is in how to record the iOS Simulator. Recording a Mac app with sound is covered in how to screen record on Mac with audio.
Record more than you need: two seconds of calm before the first tap and after the last result. They become the first and last frame of the video, and the poster frame people see before they press play.
4. Cut the waiting
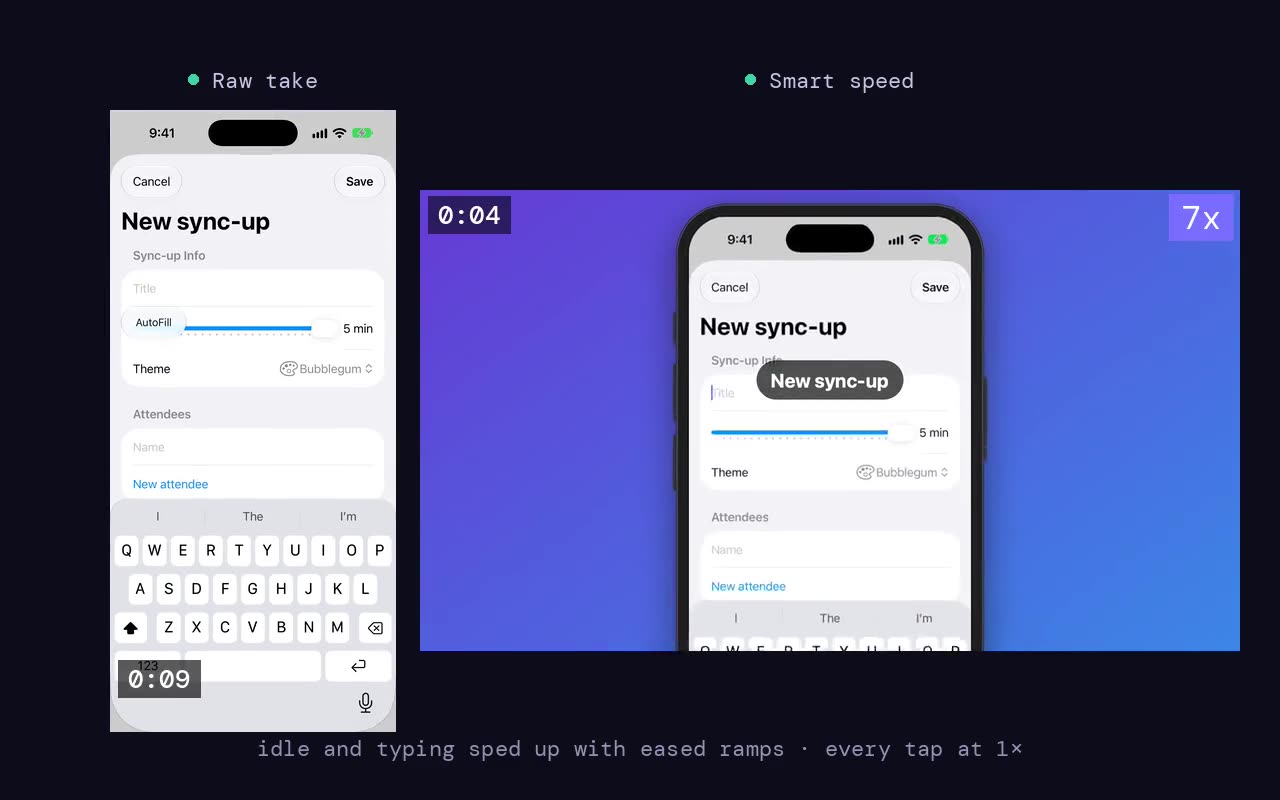
A raw take of a 20-second task is often a minute long: the app loads, you type a name, you think about the next tap. Viewers skip at the first pause. Cut every gap between beats, and speed up the parts that must stay but are not the point (typing, a spinner, a long scroll). Keep taps and their results at normal speed, so the cause and the effect stay readable.
5. Zoom on every tap
Your viewer watches on a phone, often a landscape video shrunk into a feed. A full iPhone screen at that size is unreadable. Zoom the camera onto the element that was tapped, hold for about a second so the eye catches it, then ease back out before the next beat. A small ripple at the touch point shows where the tap happened, which a plain screen recording never does.
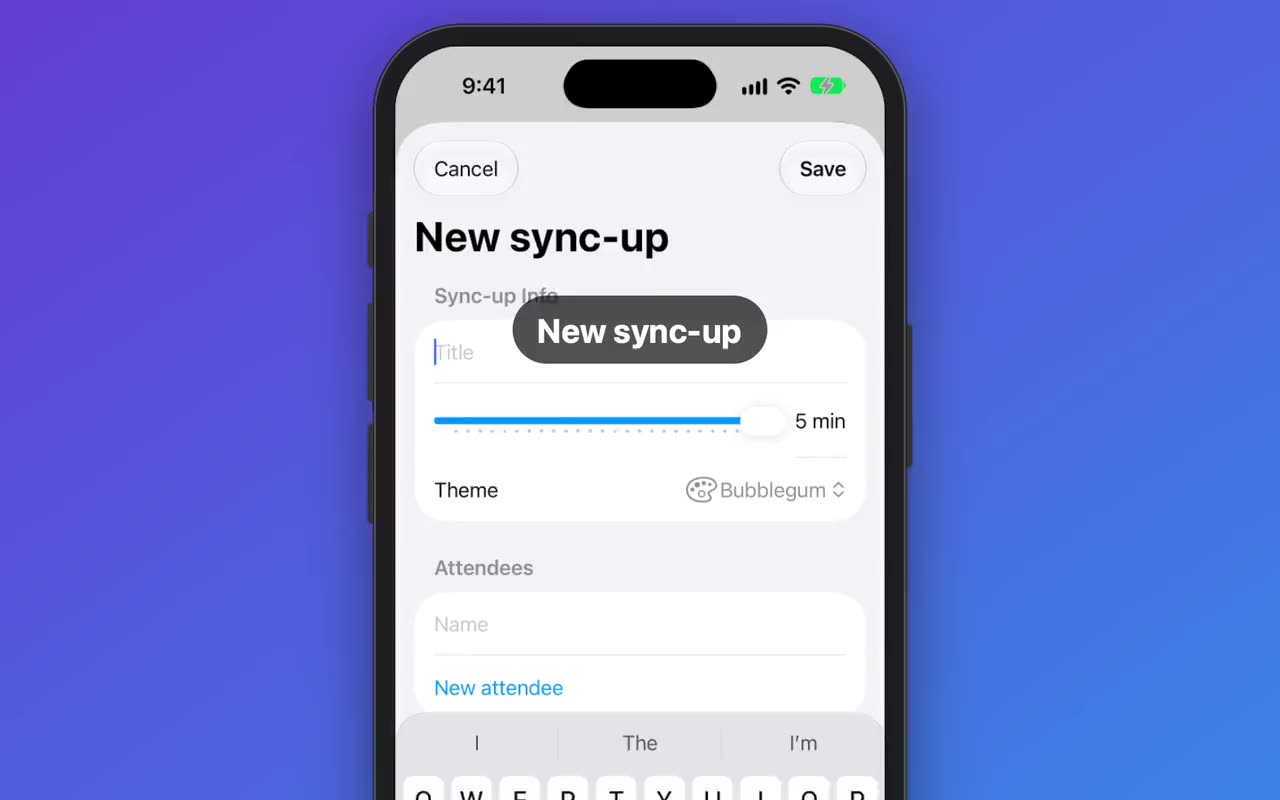
Zooming by hand in a timeline editor works, but it takes the longest of all the steps: you scrub to each tap, guess the element's rectangle and key the camera. Tools that log taps while filming can place zooms on the exact element automatically.
6. Add captions and music
X and LinkedIn autoplay videos muted in the feed, and plenty of people scroll with the sound off everywhere else, so the story has to work without sound. Put one short caption on screen per beat, in large text away from the edges where the platform draws its own buttons. Then add music for the people who turn the sound on: one calm track, mixed low, starting with the video and fading out at the end.

Skip the voice-over unless you are good at it and can keep it in sync with the screen. A caption per beat is easier to write, easier to translate and never off by half a second.
7. Export one file per destination
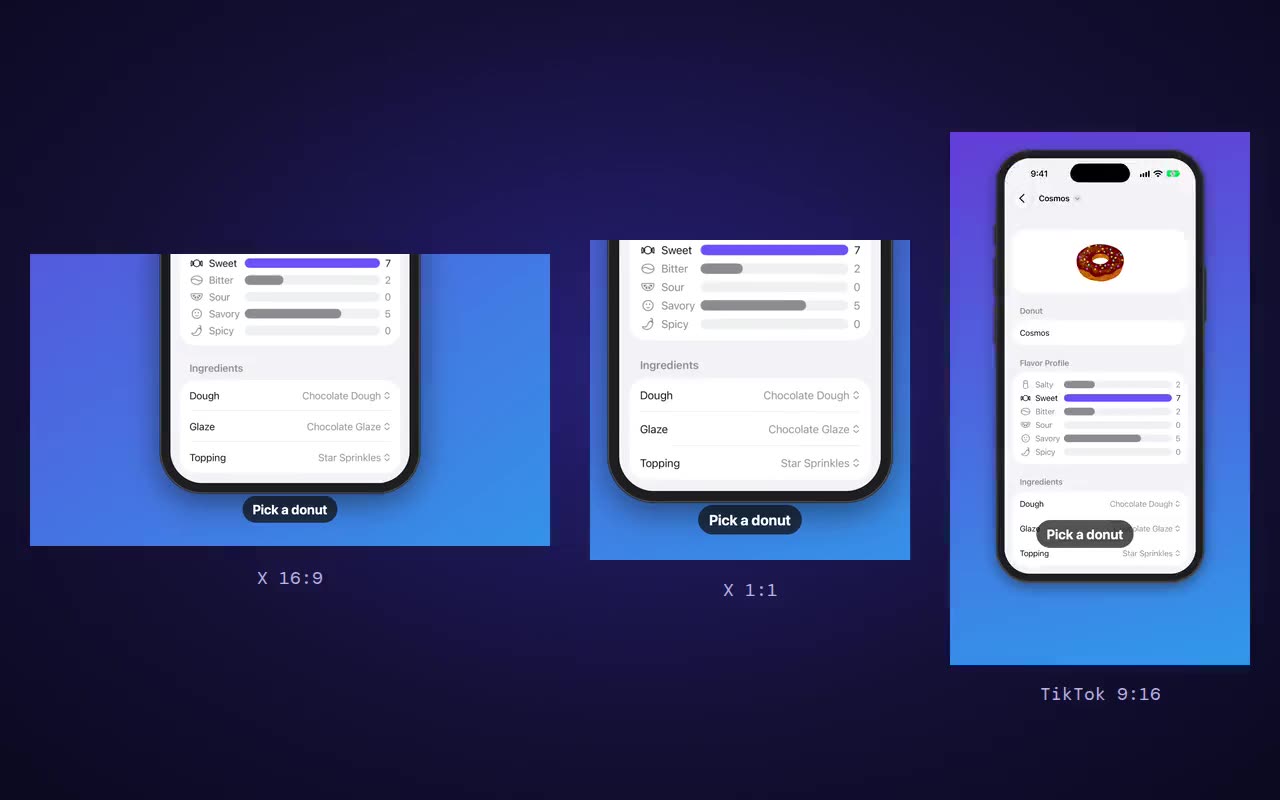
One take, several files. Each place has its own shape and limits, and uploading the wrong one means black bars, a cropped caption or an upload error.
| Platform | Use | Size | FPS | Notes |
|---|---|---|---|---|
| App Store | App Preview, iPhone 6.9" to 6.1" | 886×1920 | ≤30 | 15-30 s, frameless |
| App Store | App Preview, iPhone 5.5" | 1080×1920 | ≤30 | 15-30 s, frameless |
| App Store | App Preview, iPad 13" and 11" | 1200×1600 | ≤30 | 15-30 s, frameless |
| App Store | App Preview, Mac | 1920×1080 | ≤30 | 15-30 s, frameless |
| App Store | Header video | 3840×1646 | 30 | 5-30 s, backgrounds allowed |
| App Store | Screenshots, iPhone 6.3" (required) | 1206×2622 | - | PNG or JPEG, no alpha |
| YouTube | Product Hunt video link | 1920×1080 | 30-60 | Posted by link |
| X | Landscape post | 1920×1080 | 30-60 | Up to 2 min 20 s |
| X | Square post | 1080×1080 | 30-60 | Up to 2 min 20 s |
| X | Vertical post | 1080×1920 | 30-60 | Fills the phone timeline |
| TikTok | Video | 1080×1920 | 30-60 | Keep captions out of the bottom 20% |
| Reels | 1080×1920 | 30-60 | Grid crops to 3:4 | |
| YouTube | Shorts | 1080×1920 | 30-60 | Vertical or square |
| YouTube | Video | 1920×1080 | 30-60 | 3840×2160 for 4K |
| Landscape post | 1920×1080 | 30 | Square plays larger in the feed | |
| Square post | 1080×1080 | 30 |
The App Store is the strictest. Per Apple's specifications page: 15 to 30 seconds, at most 500 MB, H.264 (.mov, .m4v, .mp4) or ProRes 422 HQ, up to three previews per device size and language, and only captures of the app itself. Check your file with the free App Preview checker before you upload; the full rules are in how to make an App Store preview video. Need stills too? See App Store screenshot sizes.
How long should an app demo video be?
Apple sets hard limits for the App Store; everywhere else, shorter wins. These are the lengths we aim for, by destination:
| Destination | Length | Why |
|---|---|---|
| App Store App Preview | 15-30 s | Apple's minimum and maximum |
| X, LinkedIn, Threads post | 15-45 s | One task, watched in the feed |
| TikTok, Reels, Shorts | 15-30 s | Vertical, loops, captions carry it |
| Website hero or feature section | 10-30 s, looping | Plays muted next to your headline |
| Product Hunt, YouTube walkthrough | 60-120 s | People clicked to see more, so show 2 to 3 tasks |
If the cut is longer than the target, remove a beat rather than speeding everything up.
Mistakes that make an app demo look amateur
- Starting on a splash screen or a login. Start in the app, on the screen where the task begins.
- Showing every feature. One task per video. A second task is a second video.
- A real status bar. 3:12, 20 % battery and a carrier name date the video and distract.
- Empty or fake-looking data. An empty list shows nothing; "Lorem ipsum" shows you did not care.
- No zoom. A full phone screen in a feed is a grey rectangle.
- Captions that repeat the UI. "Tap the Order button" adds nothing; "Order in two taps" says why it matters.
- One export for everywhere. A 16:9 file in a vertical feed is a small strip with black bars.
- Re-recording from scratch for every update. Keep the flow, so the next version is a re-shoot, not a new project.
Making app demo videos with your coding agent
If you build with Claude Code, Codex or Cursor, the agent already knows your app's screens and can do steps 2 to 7. That is what ShowTake is for: a Mac app with a built-in MCP server that your agent uses to film your iOS Simulator or Mac app.
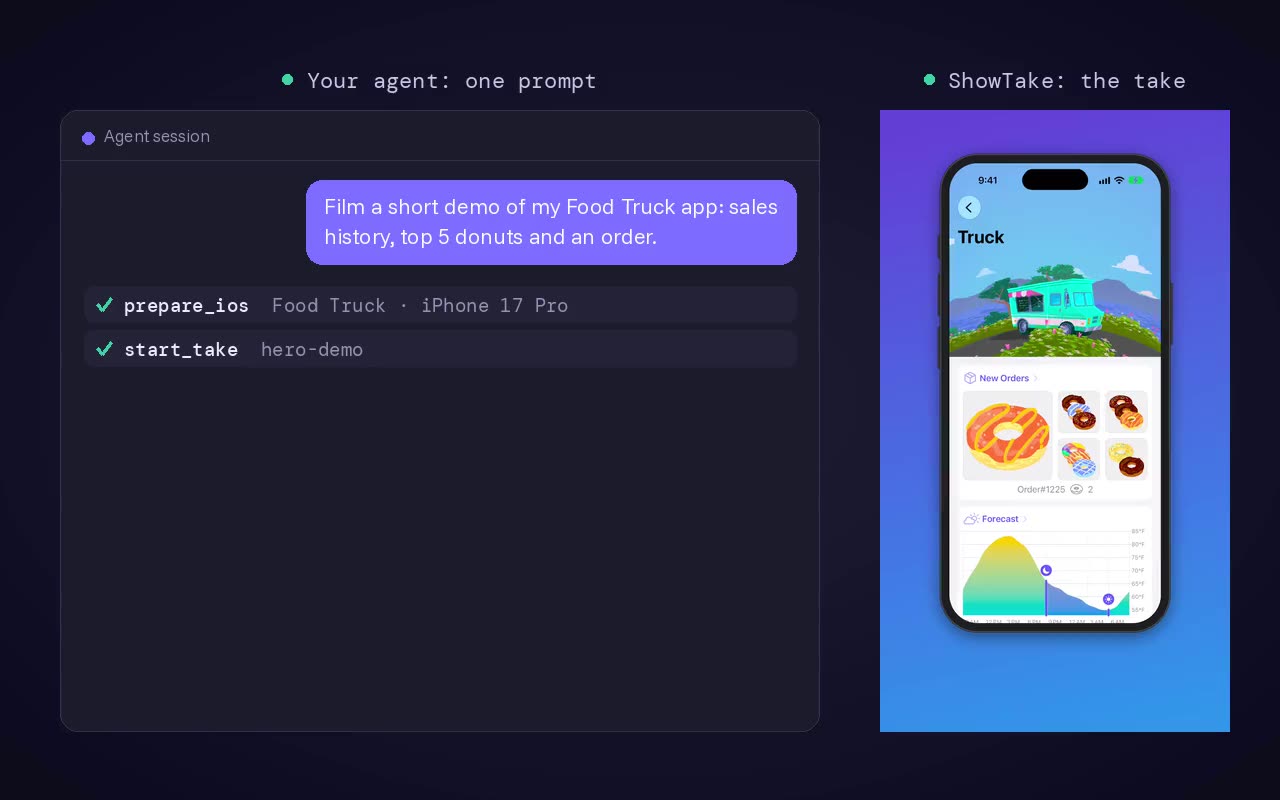
- Prepare: the agent builds your iOS app and installs it on a clean simulator with a 9:41 status bar (
prepare_ios), or launches your Mac app and sizes its window (prepare_macos). - Film: it taps, types and scrolls through your shot list while ShowTake records the screen and logs every action with the element's frame.
- Edit: the render cuts idle time, speeds up typing and loading, zooms on each tapped element, adds the captions the agent wrote and a music track from the built-in library.
- Export: one file per preset (App Preview, X, TikTok and Reels, YouTube, LinkedIn), each checked against its rules.
- Re-shoot: a clean take is saved as a flow, so the next build or another language is one replay, without the agent.
Paste into your agent
Film a 20-second demo video of the app in the iPhone 17 Pro simulator:
open the donut list, pick a donut, change its glaze and add a topping.
Clean status bar, light mode, one caption per step, upbeat music.
Export it for X (16:9) and as a 9:16 cut for TikTok and Reels.What it does not do: it does not film real devices, Android apps or a webcam, and it does not make animated explainers from mockups. It films your real app, which is what a demo video should show. Already have a recording? The import_video tool turns an existing .mov into a take and edits it the same way.
Free vs Pro. The free plan films, renders with music and captions, and exports the X 16:9 preset with a small watermark. Pro adds every other preset (App Previews, vertical, square, YouTube, LinkedIn), screenshots and the launch kit, 4K, batch replays and your own audio files. Setup takes one command: see connect your agent or download ShowTake.
Film it with your agent
ShowTake is a Mac app with a built-in MCP server: your coding agent drives your app and ShowTake renders the zooms, captions and every export size. Free to try, with a watermark.
Common questions
What is an app demo video?
A short screen recording of a real app doing one task, from start to result, edited so it is easy to follow: idle time cut, zooms on taps, captions and often music. Unlike an explainer video, it shows the actual product instead of animation.
How do I make a demo video of my app for free?
Record the iOS Simulator with xcrun simctl io booted recordVideo demo.mov or a Mac app window with Shift-Command-5, then trim it in any free editor and add captions. ShowTake's free plan also films the app, adds zooms, captions and music, and exports a 16:9 video with a small watermark.
How long should an app demo video be?
15 to 45 seconds for social posts and your website, 15 to 30 seconds for an App Store App Preview (Apple's limits), and up to about two minutes for a walkthrough on YouTube or Product Hunt. Show one task per short video.
Can I use an app demo video as an App Store preview?
Yes, if it follows Apple's rules: 15 to 30 seconds, an accepted resolution for the device (886×1920 for current iPhones in portrait), 30 fps or lower, and only captures of the app itself, with no hands or device frames. Export a separate file for the App Store instead of reusing your social cut.
What is the best app demo video maker for iPhone apps?
For a one-off clip, the Simulator's own recording plus any video editor is enough. If you make videos for every release, or in several sizes and languages, a tool that films the app for you and re-shoots it from a saved flow saves the most time. ShowTake does this through your coding agent; it works with Simulator and Mac apps, not real devices.
ShowTake for Mac
Let your coding agent film the demo
Your agent drives your iOS app in the Simulator or your Mac app; ShowTake records every tap and renders zooms, captions, App Store previews, screenshots and social cuts. Free to try, with a watermark.