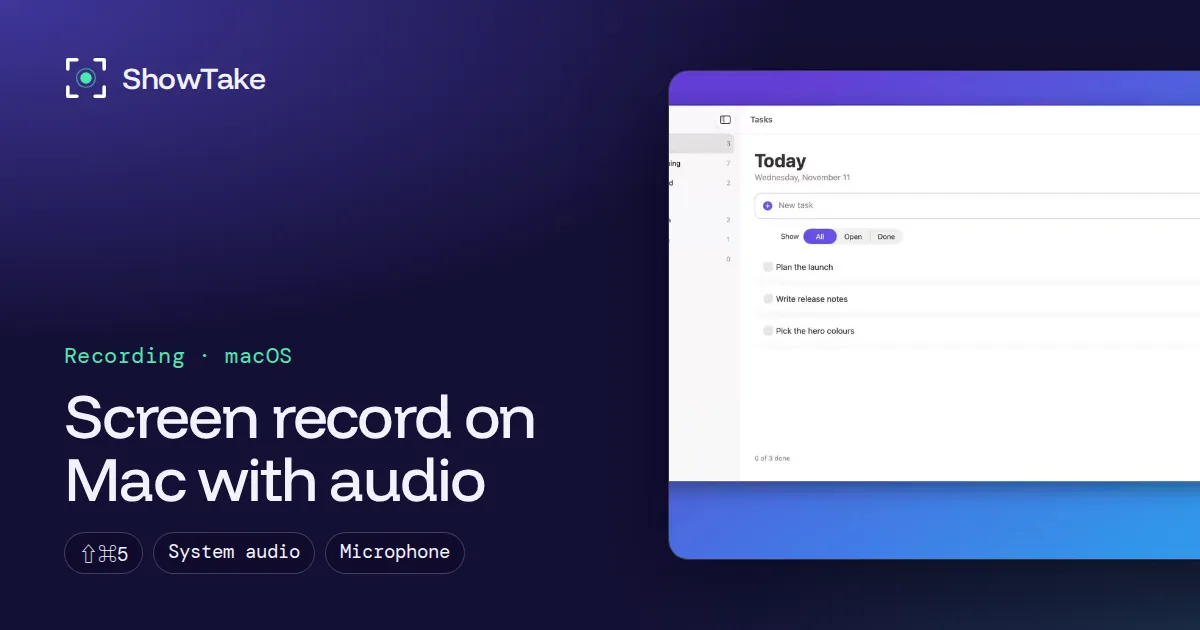
To screen record on a Mac with audio, press Shift-Command-5, click Options, and choose Include System Audio to record the sound your Mac plays (macOS 27 Golden Gate or later) and a microphone to record your voice. Then click Record, and stop with the Stop button in the menu bar or Command-Control-Esc. On macOS 26 Tahoe and earlier the built-in recorder can only record a microphone; to capture the Mac's own sound there you need a free virtual audio device, set up in about five minutes below.
Steps checked on November 12, 2026 against Apple's support article How to record the screen on your Mac and on a Mac mini with macOS 27.2.
Which audio can you record?
| macOS version | Your voice (microphone) | Sound your Mac plays (system audio) | How |
|---|---|---|---|
| macOS 27 Golden Gate or later | Yes | Yes | Shift-Command-5 > Options > Include System Audio |
| macOS 26 Tahoe | Yes | Not built in | Microphone in Options; system audio through a virtual audio device |
| macOS 15 Sequoia and earlier | Yes | Not built in | Same as Tahoe |
To see your version, choose Apple menu > About This Mac.
Record the screen with system audio (macOS 27 or later)
- Open the toolbar. Press Shift-Command-5. The Screenshot toolbar appears at the bottom of the screen.
- Pick what to record. Record Entire Screen, Record Selected Window (macOS Tahoe 26 or later) or Record Selected Portion.
- Turn on the sound. Click Options and choose Include System Audio. To narrate at the same time, also choose your microphone in the same menu.
- Optional extras. Show Mouse Clicks draws a circle each time you click; a timer gives you 5 or 10 seconds to get ready; Save to changes where the file goes (the Desktop by default).
- Record. Click Record (for a window, click the window). Stop with the Stop button in the menu bar or press Command-Control-Esc.
The first time, macOS may ask you to allow screen and audio recording. If it does not record sound, check System Settings > Privacy & Security > Screen & System Audio Recording.
Record with QuickTime Player
QuickTime Player can still start a recording: open it from Applications and choose File > New Screen Recording (Control-Command-N). On recent macOS this opens the same Screenshot toolbar as Shift-Command-5, so the audio options are the same. If you see QuickTime's own Screen Recording window instead (older macOS), click the arrow next to Record to choose a microphone. QuickTime opens the finished recording so you can trim it (Edit > Trim) before saving.
Record internal audio on macOS Tahoe or earlier
Before macOS 27 the Mac cannot route its own sound into a screen recording. The standard free fix is a virtual audio device: a driver that appears as both a speaker and a microphone, so the recorder can "hear" what the Mac plays. BlackHole (open source, by Existential Audio) is the common choice.
- Install the virtual device. Install BlackHole 2ch from its official site or with Homebrew (
brew install blackhole-2ch), then restart audio apps. - Create a Multi-Output Device. Open Audio MIDI Setup (in Applications > Utilities), click the + button, choose Create Multi-Output Device, and tick both your speakers or headphones and BlackHole 2ch. This lets you hear the sound while it is recorded.
- Send the Mac's sound there. In System Settings > Sound > Output, choose the Multi-Output Device.
- Record BlackHole as the microphone. Press Shift-Command-5, open Options and choose BlackHole 2ch as the microphone. Record as usual.
- Switch back afterwards. Set Sound > Output to your speakers again, because volume keys do not control a Multi-Output Device.
Record from Terminal
screencapture, the command behind the Screenshot toolbar, records video too. On macOS 27.2 its help lists -A for system audio and -g for the default microphone:
# 30-second recording of the main screen, with system audio and clicks shown
screencapture -v -A -k -V 30 ~/Desktop/demo.mov

# Record with the default microphone instead
screencapture -v -g -V 30 ~/Desktop/voice.mov-v records video, -V 30 stops after 30 seconds, -k shows clicks, -l <window id> records one window and -R x,y,w,h a rectangle. Run screencapture -h on your Mac: the flags differ between macOS versions, and -A is not listed on older ones.
No sound in your screen recording? Check these
Making a demo of your own Mac app?
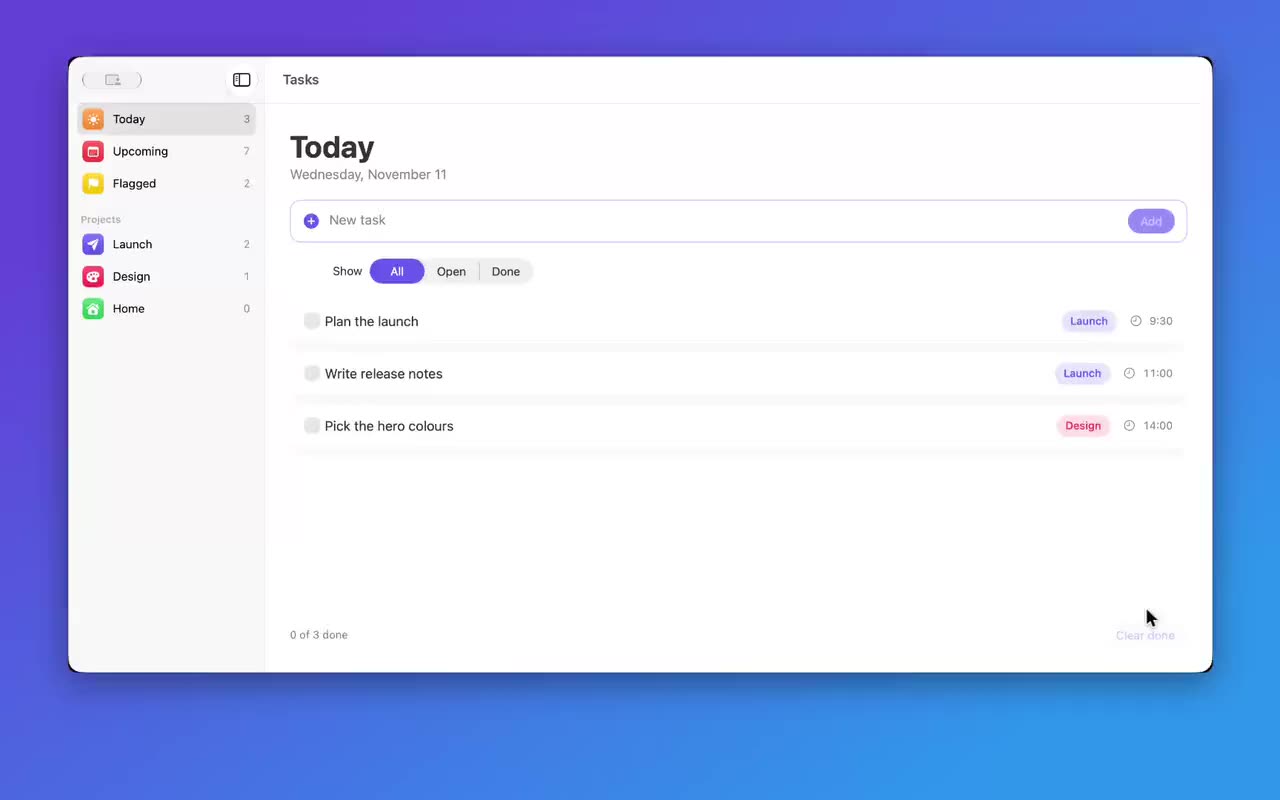
If the goal is a product video of an app you build, the app's own beeps are rarely what you want in the final cut. Music and short captions carry a demo better, and they are easier to change than a recording. The whole process, from shot list to export, is in how to make an app demo video. That is how ShowTake handles Mac apps: your coding agent drives the app window through ShowTake's MCP tools, ShowTake records the window, draws the pointer and click ripples, zooms on what was clicked, and adds a music track and captions at export.

Music from the built-in library, volume and ducking, and caption styles are part of the free plan; your own audio files (a voice-over, sound effects, your own music) need Pro. The details are in music and captions. For iPhone apps in the Simulator, see how to record the iOS Simulator, and if you are choosing a general screen recorder for tutorials, our Screen Studio comparison explains where each tool fits.
Paste into your agent after setting up ShowTake
Film a 20-second demo of my Mac app: create a task, mark it done and filter
the list. Add calm music from the library and short captions for each step,
then export a 16:9 video for X and a Mac App Preview.Film it with your agent
ShowTake is a Mac app with a built-in MCP server: your coding agent drives your app and ShowTake renders the zooms, captions and every export size. Free to try, with a watermark.
Common questions
How do I screen record on a Mac with internal audio?
On macOS 27 Golden Gate or later, press Shift-Command-5, click Options and choose Include System Audio. On macOS 26 Tahoe or earlier, install a virtual audio device such as BlackHole, send the Mac's sound to a Multi-Output Device that includes it, and choose BlackHole as the microphone in the Screenshot toolbar.
Why does my Mac screen recording have no sound?
Usually no audio source is selected. Choose Include System Audio (macOS 27) or a microphone under Options in the Shift-Command-5 toolbar, and check that the recorder is allowed under Privacy & Security > Screen & System Audio Recording. Older macOS versions cannot record system audio without a virtual audio device.
Can QuickTime record screen with audio?
Yes. File > New Screen Recording opens the Screenshot toolbar on recent macOS, where you choose a microphone and, on macOS 27 or later, Include System Audio. QuickTime itself never recorded the Mac's internal sound on older versions.
How do I record my voice and the computer's sound at the same time?
On macOS 27 or later, choose both Include System Audio and your microphone in Options. On older versions, create an Aggregate Device in Audio MIDI Setup that combines your microphone and BlackHole, and record that device.
Where do Mac screen recordings go?
To the Desktop by default, named "Screen Recording" with the date and time. Change the folder under Options > Save to in the Shift-Command-5 toolbar.
ShowTake for Mac
Let your coding agent film the demo
Your agent drives your iOS app in the Simulator or your Mac app; ShowTake records every tap and renders zooms, captions, App Store previews, screenshots and social cuts. Free to try, with a watermark.